Wednesday, October 25, 2017

Fireplace Mantel --- Almost a BooBoo


Waaaaaay back in March of this year something happened that hearkened me back to a few years ago....well, more than a few years ago....when that same Stihl 440 Magnum chainsaw shown in the photo below and I had a fight. Guess who won?

Yup. The Stihl definitely won that go-round by slicing a gash approximately 6" long diagonally just above and across my left kneecap that could have been catastrophic had it gone into ligaments or bone or struck a vein or artery. Thankfully, it didn't, but it did require 61 stitches inside the gash and out in order to close it up.

I won't show the scar. Nor will I go into any of the gory details of what transpired as Katherine forcefully...very forcefully...tried to convince me I needed to load my ass into the car to get me to the clinic in order to get that gash all sewn up. Thing is, I was wandering around in shock fretting about getting all the gear loaded up first, and she knew I sometimes feinted at the site of my own blood. So, if I did go down, she knew she'd never be able to lift me into the car. So, yeah, I got yelled at repeatedly to GET YOUR ASS INTO THE CAR!!!! She did finally get through to me even with my muddled senses. I finally GOT MY ASS INTO THE CAR, and off we went.

There's much more to this story than I'm sharing here, but all's well that ends well in the final analysis. The wound healed, and the scar is a constant reminder to put safety first whenever and wherever a chainsaw is about to be put to use.

Now fast forward to firing up that old reliable 440 to try and do some trim work on the fireplace mantel I'm still working on for Alan and Mendon.

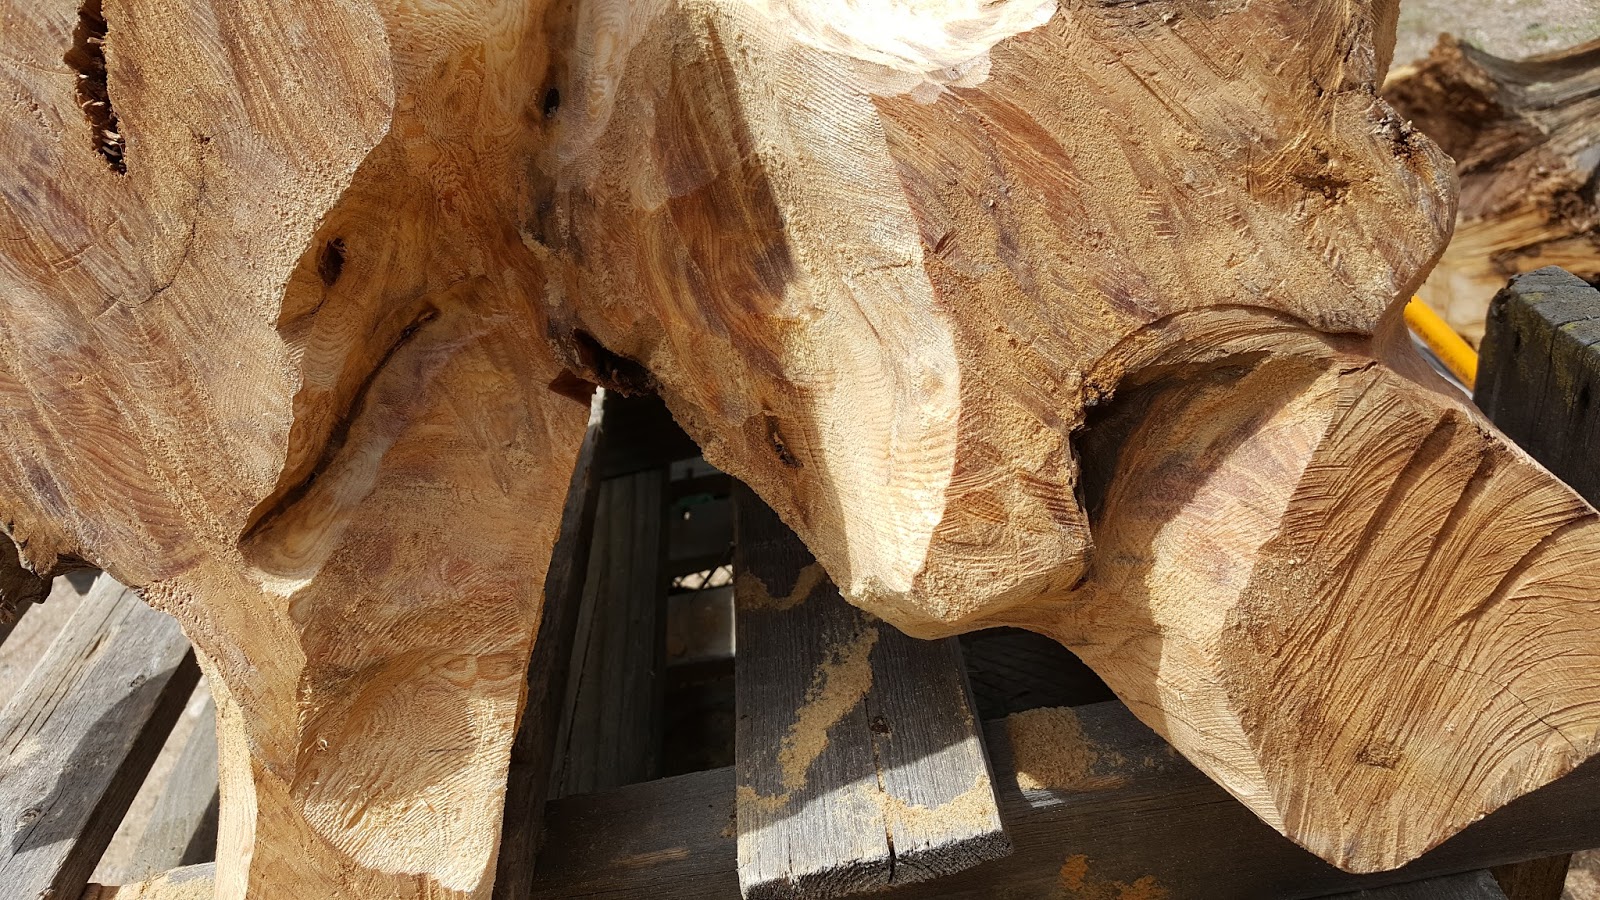
The photo below shows part of the process for trim work on the pieces that will eventually become the columns for the mantel slab, itself. Most of the more rough trim work had already been done. The day I'm talking about in this blog post was intended to involve some finer trimming, and that's when the fight started.


The biggest lesson I learned from my previous fiasco is to immediately don protective gear before doing anything else with a chainsaw just in case. It doesn't matter how big or small a project is to be worked on. In fact, when I lost the first fight with this chainsaw, I was taking down a 3-4" diameter dead aspen tree when it bucked and caused the saw to do its dirty deed on my knee. Learning the hard way that a chainsaw can buck no matter what's being worked on isn't something I ever want to revisit again....EVER!

Protective gear includes chainsaw chaps that are supposed to stop a chain, broken or not, in its tracks by gumming it up. While I've never had the gory pleasure of actually testing this supposed safety feature....yeah, I wasn't wearing them the first go round, and that's the reason why I have the scar on my knee....what happened this day came about as close as I ever want to actually having to rely on those chaps to protect me from harm.

Hence, my own personal safety checklist:

  • Chaps on and clips fastened...check.
  • Protective shoes on...check.
  • Helmet with ear muffs for hearing protection and face mask for eye protection on and in place...check.
  • Protective eye wear on in addition to the helmet face mask because the face mask is a mesh which allows some sawdust through which also poses a risk to the eyes...check.

Should be ready to rock and roll, right?


Oh, and a few more items on the safety checklist menu:
  • Chain has been snugged up so the tension is just right...check.
  • Lug nuts have been tightened to keep chain tension at optimum...check.
  • Correct fuel mixture has been added...check.
  • Bar oil reservoir has been filled...check.
  • All pieces and parts have been checked and passed inspection...check.

Start her up, and BAM!!! Chain flies off the bar. 

What the.....?


Yes, indeed. Even with all the safety checks, the best laid plans can, and oftentimes do, go astray.

Even though the chain did not do damage to me or to my protective gear, this was scary! In fact, this incident convinced me to walk away for the day to settle some very rattled nerves.

The saw got put away and conspired to fight with me another day, and I still haven't figured out what caused that chain to do what it did.


Sunday, September 3, 2017

Fireplace Mantel --- Peeling Me Some Pine Stumps

For this one, I'm going to back up just a wee bit just to show how much charcoal actually had to be removed on the fatty before getting down to the core wood. That's why I titled this post "Peeling Me Some Pine Stumps".

After removing quite a lot from a part of the log that amounted to about 1/3 of the circumference (second photo below), that's when the decision got made to shorten that bugger down and try to find another one to go on top! My rationale was not only to do a "Treebeard" type of column, but also to lighten the load. That damn thing was way too heavy as is to keep on maneuvering it into position to work on.


The other one had to be eyeball flatted with the chainsaw before I could realistically get a feel for how it was going to sit on top of the fatty.


Once I got the bottom (or top, as it were) flattened, it was pretty simple, really, to mark the top (or bottom, as it were) and flatten that with the chainsaw. It really didn't matter at this point if everything wasn't perfect. There just had to be enough wiggle room left over in order to put the whole thing under the router planer later on in the process to get the top and bottom (or bottom and top as it were) perfectly parallel with each other.


Some pretty solid core wood on this one. Yep, I think it'll do.


One side had a bit of dry rot, but it isn't enough to rule out this log. That should come out easily enough with the angle grinder and rasp disc.


This one, however, was going to be more of a challenge overall because it had dry rot all the way through. That debris in the center will need to get power washed to clean it all out.


A kind of a "before and after" duo of photos of the fatty after some serious grinding:


There's actually a LOT of work that goes into grinding and shaping on projects like this. Some folks prefer the more "natural" look which involves leaving everything alone. I personally don't like that look very much. Everything needs to flow before I'm happy.

So, once the other side was ground down, this side looked to be a bit easier to work with. I said "looked to be", not that it actually wound up that way. No sirree!


And this is why it turned out to be more difficult than anticipated....lots and lots of grooves, crevices, and inlets that the grinder couldn't get into. That's when the long neck electric die grinder came out and away I went!


Getting there!


There's that symmetry thing again. Some of the "feet" of this piece stuck out way too far, so they got trimmed using the chainsaw. Then the grinder....again, in order to round over the edges to give it all a more flowing look.


Showing the crevices the grinder couldn't get into.


All cleaned up, and ready for the router planer.


The two pieces that will be the bases of each of the columns. Now it remains to get that router planer set up and plane them down to equal heights.


Only two more to go to have two columns!!!! Gettin' there, for sure!

Next up....."Almost a BooBoo!"


Saturday, August 5, 2017

Fireplace Mantel --- Whaddya Gonna Do??????


Remember my last post? Yeah, that one....the one talking about some level of symmetry? The one that showed two "columns", one of which was a whole lot "skinnier" than the other one? Well, I made a decision to at least try to begin cleaning them up just to see how much rotten "skin" there was to remove on each one.

The fatty was first in line:


Just getting it set up so I could work on it outside was a challenge in, and of, itself. Those little garden carts do have some use after all!

The first thing I had to do was to modify the cart. I'd already set this one up to be able to do small rip cuts with a chainsaw by placing a pallet on the inside rails of the cart and adding some "sides" to the apparatus.


Because the spot I would be working on these pieces wasn't quite level, I thought adding some weight (cinder blocks...can't really see them in this photo, but they're there....trust me, they're there) might be appropriate in order to help stabilize the apparatus and keep it in one place. Adding another pallet over the "sides" to get the height just right for working on the piece worked very well, too.


I'm not sure, but I think that root system weighs a TON!

Next step was to start removing the grey matter with my angle grinder and carbide rasp wheel.

More work than expected, but still making progress:


Ok, stand it up to see whether it will actually have a flat enough backside to be able to get it up to the fireplace wall without it tipping forward (Alan and Mendon have small kids, and this thing would squash them flat if it fell on them).

Looking good:


Still looking good from a different angle:


(Editor's Note: The photo above is also the one that got me thinking of going in another direction. The symmetry just wasn't there)

Flat backside still looking good, but, DANG, that charred stuff is daunting!


Truth is, I got disillusioned!

Not only was there more charcoal "stuff" to be removed than I'd bargained for, but the photo below shows just one result of all that "stuff" being thrown every which way by the grinder.

Add the wind into that equation, and, well, you get the picture.

And, that doesn't even take into consideration the caking of charcoal on my clothes! Fortunately, I have a pretty good air compressor I used to blow off most of the charcoal residue before tracking it all over the house in order to take this photo.


The farther I went into that "stuff", the more I realized the core wood was still very good. That, in turn, led me to realize further that the symmetry was going to be "off" if I went with the whole log standing. That, in turn, led me to realize I needed to either find another root system with some symmetry to this one, or I needed to go in another direction.

Whaddya gonna do? WHADDYA GONNA DO?

In discussing this with Katherine, she expressed some concerns about whether or not the "skinnier" of the two columns would even be structurally strong enough to be able to handle the weight of the mantel. She made a very, very good point, for sure.

So, the decision was made to try and do a "Treebeard" type configuration.


This would involve cutting the "fatty" to a much shorter height (with Sampson's help, of course).


And then, finding another root system that had some symmetry comparable to the "fatty", and that could be turned upside down on top of the "fatty" to give it that "Treebeard" look.

This one had promise:


So did this one, but this one also had a LOT more dry rot.


It was then I realized I'd actually need THREE root systems, not just ONE additional system, to make my idea work! Boy, am I ever slow!

Back to the woodpile!

This one looked promising. But, again, a LOT of dry rot.


Rotten into the core.


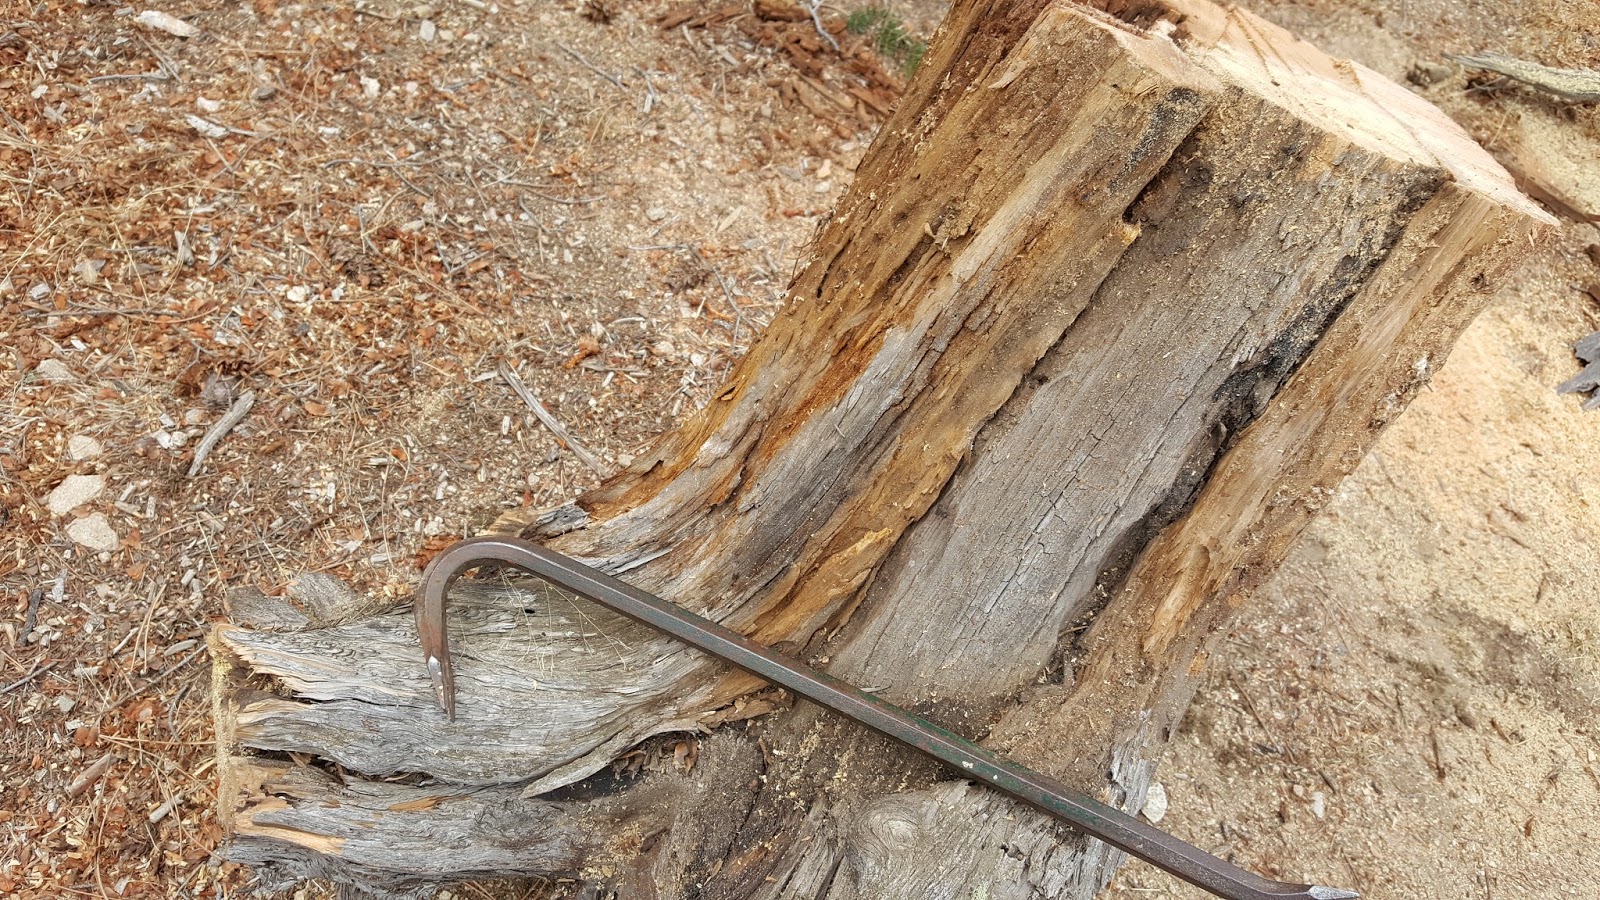
Breaking off pieces that are cracked all the way through. Had to use a wrecking bar to do it.


Now, THAT one had some serious potential!!


And then there were two....


But now I needed two more:

This is the one I just wasn't too sure about. That dry rot actually goes all the way through the log....


Well, I'm gonna try it anyway. The mark on the log in this photo is the height I needed to get the log down to. I'd already done an eyeball type cut with the chainsaw to level it fairly well on the bottom. Just too tired to make that last cut today.....potential accident waiting to happen, so.....


Gonna stop here with this post. Suffice to say, I did find three more stumps I thought would work.

Next up....Peeling Me Some Pine Stumps!


Monday, July 31, 2017

Fireplace Mantel --- Root Systems That'll Work are Kinda Scarce!


So, how does one go about finding root systems that might work? Basically, one must go hunting....out on the property....in the hinterlands....in the up and down terrain....slipping and sliding on those slippery slopes.

The thing is, though, any root systems that might work are actually kinda scarce. Don't get me wrong. There are lots and lots of dead tree stumps all over the property. But finding something that isn't rotten all the way through, or that is the right height along with a good circumference and solid core? Well, those are few and far between.

The old Stihl 440 Magnum chainsaw and I certainly had our work cut out for us....in more ways than one! That chainsaw and I had to cut some of the stumps to an approximate length right there onsite, load them in the truck, and then bring them on home to be further inspected. DAMN, but those things are heavy....much heavier than they look, even at only four feet long, for sure! Plus, this old guy (me) ain't no young whippersnapper able to do what I used to do without hesitation awhile back any longer. At this point, I'm beginning to think, after manhandling a few of them into the bed of the truck all by myself, that maybe this might not have been such a good idea after all.

Got 'em home (unloading was a whole lot easier than loading....whew!) and leaning up against some old cottonwood slabs outside the workshop. Now I need to take a really hard look at all of them. The stumps I did find that might....I say MIGHT....work are shown below:


After sifting and sorting, turning and then turning some more, reality began to sink in....not too much "good stuff" to work with here. But that's actually a good thing because it sorta made picking and choosing the "good stuff" pretty easy when one comes right down to it.

In the end, I wound up with only two stumps that were solid enough all the way through to even come close to being able to use....at least in the conceptual picture I kept seeing in my own mind's eye.

The first one had the right "stance", but I wasn't too sure if it was big enough around in order for everything to be symmetrical (I ain't too linear, but this project called for two columns that were roughly the same circumference).

The second one also had the right "stance", but is quite a bit bigger around than the other one.

First one:


Second one:


Now that second one is interesting, for sure. There's a lot of deep charring that tells me this tree got hit by lightning at some point in its life, and the end result is basically charcoal varying in depth from 1/2" to 1" deep into the wood virtually all the way around.

That's the bad news because this stuff is extremely dirty to work with what with all the soot that gets ground off in the smoothing process. Even working on it outside the workshop in open air doesn't prevent that soot from getting into everything including eyes and breathing passages if proper safety gear isn't being used. So, eye protection and dust respirator/mask are an absolute MUST!

The good news is that I know from experience working with other pieces like this one that the interior core wood is still sound all the way through. It'll just be a little more difficult to get to it, and to work with it because it's gonna be a virtual resin pit all the way through. If it ain't one thing, it's....

Let's set 'em up and see what we have, shall we?

So, here they are side by side in the kind of configuration I'm thinking would look pretty cool as two columns on either side of the fireplace opening.


Still not so sure about the symmetry. That one on the left looks kinda skinny, don'tcha think?

Next up....Whaddya Gonna Do?