After removing quite a lot from a part of the log that amounted to about 1/3 of the circumference (second photo below), that's when the decision got made to shorten that bugger down and try to find another one to go on top! My rationale was not only to do a "Treebeard" type of column, but also to lighten the load. That damn thing was way too heavy as is to keep on maneuvering it into position to work on.


The other one had to be eyeball flatted with the chainsaw before I could realistically get a feel for how it was going to sit on top of the fatty.

Once I got the bottom (or top, as it were) flattened, it was pretty simple, really, to mark the top (or bottom, as it were) and flatten that with the chainsaw. It really didn't matter at this point if everything wasn't perfect. There just had to be enough wiggle room left over in order to put the whole thing under the router planer later on in the process to get the top and bottom (or bottom and top as it were) perfectly parallel with each other.

Some pretty solid core wood on this one. Yep, I think it'll do.

One side had a bit of dry rot, but it isn't enough to rule out this log. That should come out easily enough with the angle grinder and rasp disc.

This one, however, was going to be more of a challenge overall because it had dry rot all the way through. That debris in the center will need to get power washed to clean it all out.

A kind of a "before and after" duo of photos of the fatty after some serious grinding:


There's actually a LOT of work that goes into grinding and shaping on projects like this. Some folks prefer the more "natural" look which involves leaving everything alone. I personally don't like that look very much. Everything needs to flow before I'm happy.
So, once the other side was ground down, this side looked to be a bit easier to work with. I said "looked to be", not that it actually wound up that way. No sirree!

And this is why it turned out to be more difficult than anticipated....lots and lots of grooves, crevices, and inlets that the grinder couldn't get into. That's when the long neck electric die grinder came out and away I went!

Getting there!

There's that symmetry thing again. Some of the "feet" of this piece stuck out way too far, so they got trimmed using the chainsaw. Then the grinder....again, in order to round over the edges to give it all a more flowing look.

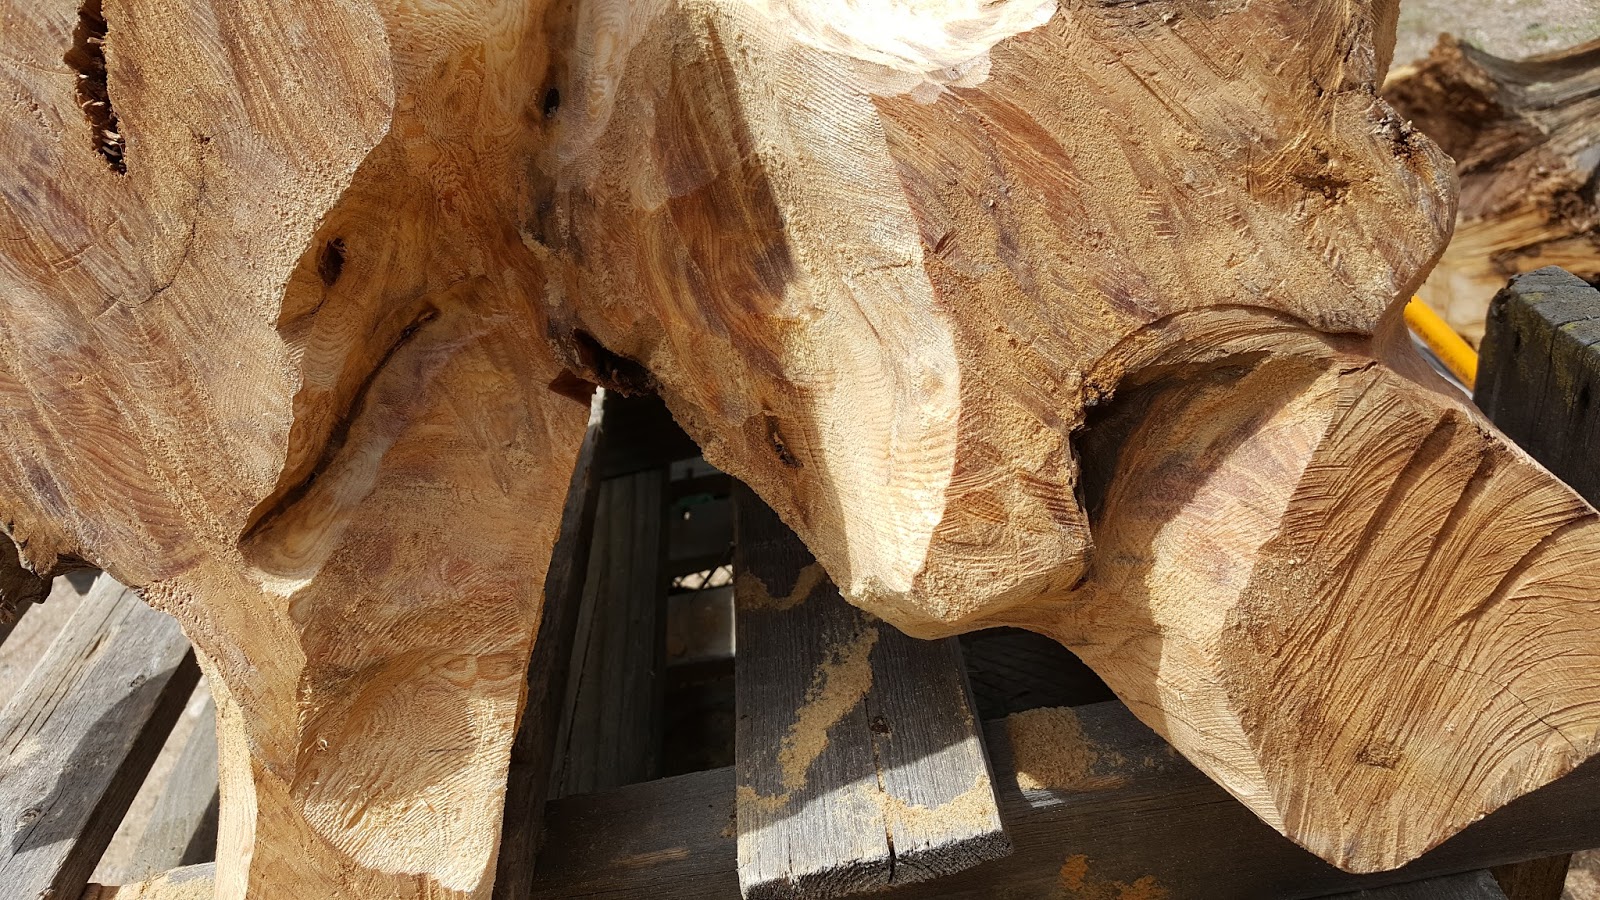
Showing the crevices the grinder couldn't get into.


All cleaned up, and ready for the router planer.

The two pieces that will be the bases of each of the columns. Now it remains to get that router planer set up and plane them down to equal heights.


Next up....."Almost a BooBoo!"