Will eventually be making a TV stand out of these slabs of walnut. The pedestals will more than likely be old root systems (showing one of them below).
Monday, June 25, 2012
Pine Beetle Fireplace Mantle
This piece started out over 10' long, 2' wide, and almost 8" thick. It was so warped, I didn't know if it could even be salvaged. Using my planer router on two 16' foot rails, I planed it down to about 4" thick thinking it would make a really unique bench. Once I got it to that thickness, it said it wanted to be a mantle over our fireplace. So, I cut it down to 8' and trimmed the back side of it so it would more or less sit flush to the wall with a small gap right in the middle. This is kind of fun because when people see the mantle, I can stick my hand up through from the back, and they almost always get a little giggle out of it.
Twisted Rocky Mountain Red Juniper
This one is an enigma. Unless someone has a better idea (the piece hasn't really talked to me yet to let me know what it wants to be), I'm thinking turned on its end, leveled and put a bar top on it. Otherwise, it might also be a coffee table.
Twisted Red Cedar
This twisted red cedar came from the Badlands area in North Dakota. It started out very rough, very grey, very hard to clean. I had these pieces since the early 1980's and couldn't quite figure out what should be done with them. It wasn't until just a few years ago that they told me they wanted to be a coffee table for Katherine. It took more than two years for me to put them together into a finished table, but they came out beautifully. You can see the finished coffee table on the Dead Wood Renaissance Facebook page.
Tuesday, June 19, 2012
Cottonwood Coffee Table Slabs (more photos)
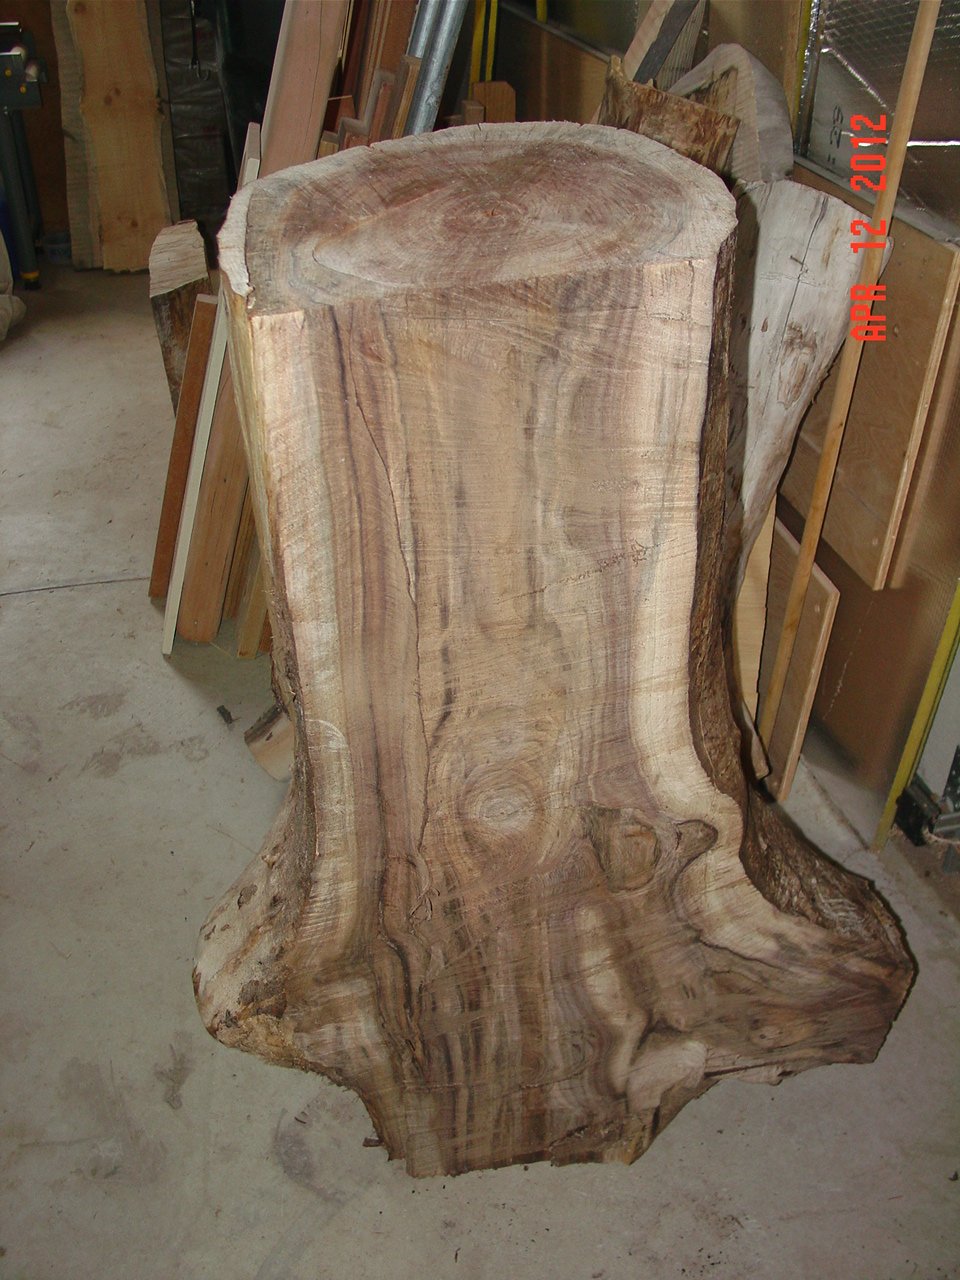
As promised, here are some more photos of the cottonwood log being slabbed. It's a process, that's for sure! Son, Bobby, took these first three photos of me cutting down through the log. Cutting this way results in a lot of very fine sawdust if the chain is sharpened properly for ripping.
This was the first slab that was cut off one side of the log.
The two cuts in this photo didn't even come close to going all the way through the log with a 20" bar on the saw.
The cut did go about 2/3 of the way through. So I figure laying the log on it's side with first cuts on the upside should provide a guide of sorts from each end.
That idea worked pretty well, but the 20" bar was still too short to allow it to meet in the middle of the log. So, once again, had to go get Bobby to help me lift the log upright. Final cut is seen below.
And, this is what happens when you "Miss" your mark. That's one of the reasons why I try to make sure each slab has some "excess" that can be planed off using my router planer.
Gonna be a whole lotta fun planing these slabs down for table tops.
Monday, June 18, 2012
Tool Review - Chainsaw sharpener
Just used my new Chicago Electric chainsaw sharpener that I got for my birthday. It really impressed me for the type of work I do, and the price was great. Harbor Freight has them at just under $40 right now.
Tolerances aren't all that great, but what can I expect for the price. A little care in use, and it sharpens the chain just like I want it. Plus, they've made some pretty good improvements over their last model (example - the hand break you can't see in this picture that allows the user to clamp the chain when lowering the handle instead of always having to loosen and unloosen a knob to do so). It seems to be built a little more ruggedly, too.
Now I just have to go make some more sawdust with my chainsaw!
Saturday, June 16, 2012
"Leveling" an unlevel piece
I suppose I could have done this with my router planer and some clamps to hold it in place, but I was feeling kinda stubborn with this piece. The process illustrated below has been in use by others for a very long time, so I just had to try it myself. I must say, it performed well, and the piece turned out to be the centerpiece at the wedding of our friend's daughter's head table. Not bad for a piece of charred, faded, gnarly firewood.
And this is what the finished product looked like front and back:
Subscribe to:
Posts (Atom)