"It's a sanded board with a finish".
That's one of the comments I got when I posted photos of a finished walnut charcuterie board a few days ago in a group I belong to. I had mentioned I'd be sharing a blog post in the not too distant future showing the 'process' I'd gone through to get the end product. This is that blog post. I really hadn't planned on using that person's comment as my LEDE, but here we are.
I honestly don't know whether I should be offended or take it in stride or ignore it or laugh it off as someone trolling me. The more I thought about it, the more I felt I needed to follow through and offer something about the 'process' I use, negative comments notwithstanding. I've already talked about the process I used for a burl bowl I finished awhile ago (The 'Process': Burl Bowl), So, this time I'm sharing the process I use for making charcuterie boards.
Social media is awash with products that don't take a heckuva lot to make. Some are even mass produced. That's been pointed out to me on several occasions, too, kinda as a way to lowball me on pricing. Thing is, what I do between securing raw materials to make things and sharing the end result of the work that goes into making them isn't mass production. It isn't something where I go to a big box store and buy a slab of wood to make something out of it either. Rather, it's something I put my heart and soul into in order to make something someone can treasure as having been hand made. I also look at it as a way to help others do what I do if they're so inclined. By explaining and illustrating the process I use, maybe someone else can use the process I use to be more creative in theirs.
I use power tools, yes. But I don't have the big boy tools so many on social media have come to expect when viewing things like river tables, conference tables, cabinets, or any of the larger products that are out there. What I do isn't that at all. Plus, I'm OLD and retired. So, when someone belittles, ridicules, or trolls me, I tend to get my shorts in a knot simply because I'm OLD and a bit crotchety sometimes. But I digress.
So, here's the thing: What I started with to make one charcuterie board (hopefully, I'll get at least four more out of the log this one came from) was a walnut log gifted to me by a friend.
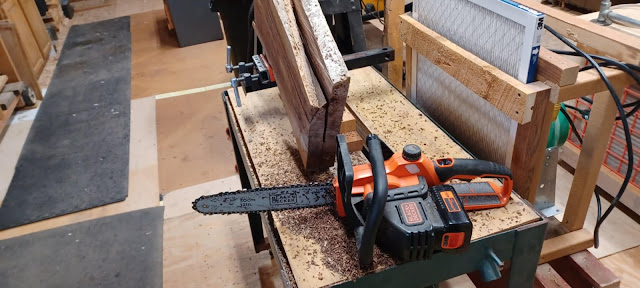
The blue lines on the log are chalk lines I used as guides for my chainsaw in cutting the log into slabs.
That was actually a few years back when I was a lot younger. I won't do that again at my age now.
The slab on the ground in the above photo was the one I selected to make the first of what I hope will be more charcuterie boards. It was about four feet long at this point and a little under three inches thick.
The slab was also very rough from using a chainsaw to cut it. That's where my router planer sled came in very handy.
Once the intact slab was flattened on both sides, I had to cut it in half to make the charcuterie board a usable size.
The section on the right in the photo above was the one chosen for this first charcuterie board. The one on the left is a crotch that will be used on the next board I make.
The sections were both too thick at this stage to just sand down and call it good. I guess I could have tried to slice the section in half like I did with another board I did awhile back.
But this section wasn't thick enough to begin with to do that. So, I used my trusty router planer sled again to plane down this board to a thickness of 1 1/4". Perfect for what I needed.
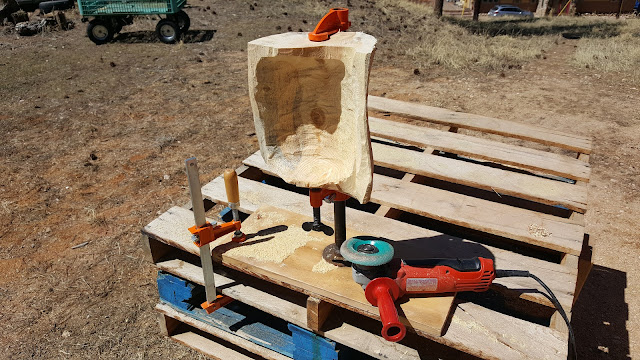
The next step involved grinding, shaping, and carving a bit to get the live edges cleaned up and any cracks shaved off before sanding could begin. For this, I used an angle grinder with a Kutzall grinding wheel to shape the edges (photo below shows the angle grinder and Kutzall grinding wheel I used to carve out a bowl I made) followed by a flap sanding wheel to smooth everything down to baby butt smooth.
After that, it became a matter of sanding everything down using multiple progressively finer grits of sandpaper and my random orbital sander to get to 220 grit, again to baby butt smooth.
Finishing involved one coat of Watco Danish Oil 'natural', one coat of Zinsser Dewaxed Shellac as a sanding sealer, two or three coats of Minwax spray semi-gloss polyurethane, and one coat of Trewax furniture wax.
I know some folks don't like using anything but 'food-safe' finishes for their boards. And that's ok. I just prefer my process instead, and did extensive research on the issue of the products I use being food-safe. Every subject matter expert I consulted on this issue said the products I use are food safe if given at least 30 days to fully cure, so there ya go.
Bottom line for me is that I don't keep tabs on how much time I spend doing what I do. If I did, I probably wouldn't be doing it (did I already point out that I'm OLD?). Reality is that there's a whole lot more involved with this process than simply buying, sanding, and finishing a board. For those who think this process is easy I can only hope that I've kinda sorta explained it well enough to understand that it isn't.....easy.
Plus, if I did keep tabs on my time involved, I'd have to charge way more than I do just to make a minimum wage equivalent. I do take solace in the fact that my efforts yield hand-crafted pieces I hope those who get them will appreciate, treasure, and maybe even pass down as family heirlooms.
Thanks for reading and perhaps challenging yourselves to do something similar.
DWR


